If you’re looking to change the login URL for your WordPress site, you’ve come to the right place. For years, there have been many reports of hackers infiltrating websites to access user data and interfere with the website’s operation. Changing your default login URL, which is wplogin.php, in your WordPress website is one of the ways to make it secure. This article will quickly teach you how to change it with a few simple steps.
Reasons to Change WordPress Login URL.
As one of the world’s most popular content management systems (CMS), WordPress is used by millions of people around the globe, including many high-profile organizations. Due to its widespread use, WordPress is a prime target for cyber attacks. A study showed that WordPress was the most attacked content management system (CMS).
One way to help mitigate these kinds of cyberattacks is to change your WordPress login URL. Here are some reasons why you should consider changing your WordPress login URL:
- A different login URL makes it more difficult for hackers to gain access to your site
- It’s an easy way to add an extra layer of security to your WordPress site.
- A custom login URL can help protect you from brute-force attacks.
How to Change the WordPress Login URL?
Let us now show you the steps to change your WordPress login URL.
We’ll use the WPS Hide Login plugin for this tutorial since it’s one of the most popular plugins for WordPress.
Step 1: Backup Your WordPress Website
Before installing the WPS Hide Login plugin, you must completely back up your WordPress site.
Although this plugin is very safe, it’s still always better to make sure you can recover your website if anything goes wrong.
Step 2: Install The WPS Hide Login Plugin
Once you’re done creating a backup for your website, it’s time to install and activate the WordPress plugin.
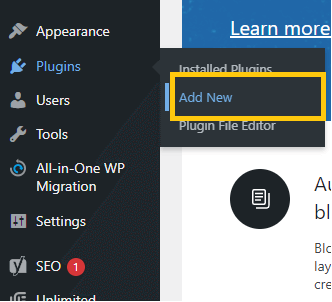
Go to your Dashboard and click Add New under Plugins.
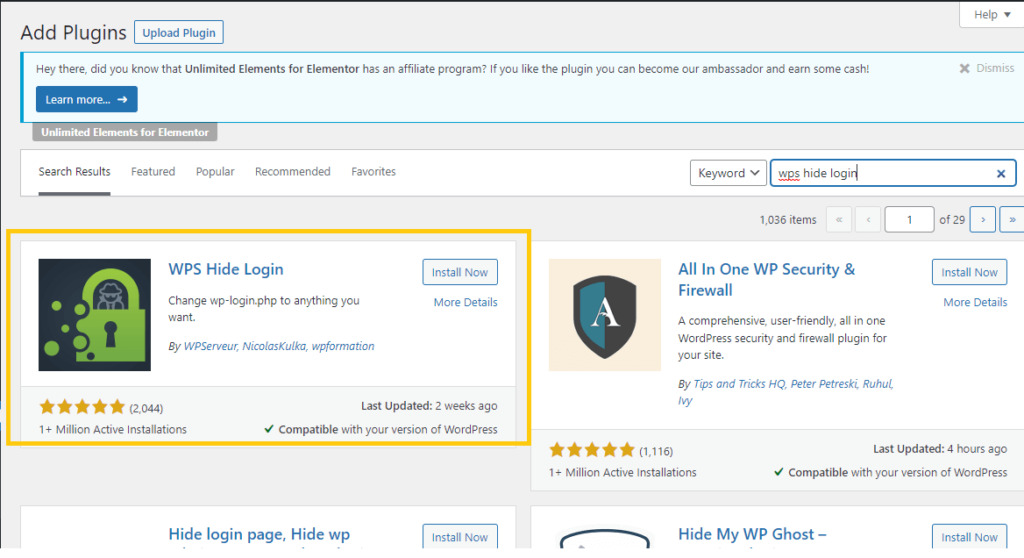
Search for WPS Hide Login.
Click Install Now to begin the installation. But make sure that the current version of the plugin is also compatible with the current version of your WordPress website.
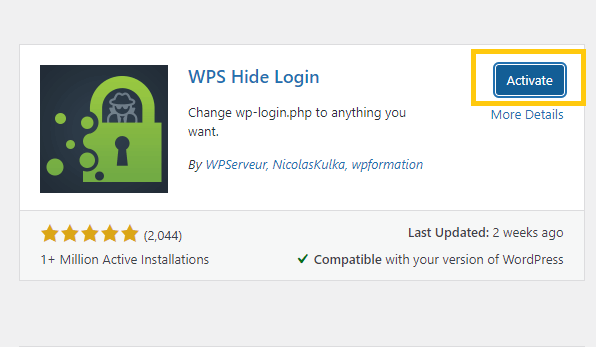
Once the installation is done, click Activate.
Step 3: Configure The Plugin
After installing and activating the WPS Hide Login, you must configure the plugin.
Here’s how to do it.
Go to settings and look for WPS Hide Login in the menu that will pop up.
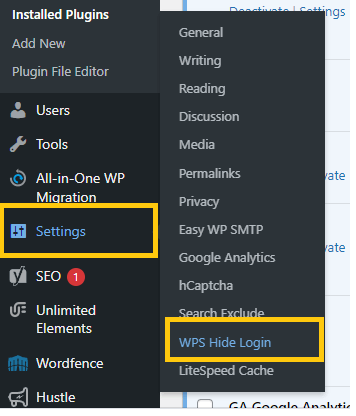
Next, Scroll down and look for WPS Hide Login. There you can now change your desired URL for your login.
When changing the Login URL, the URL must be unique, hard to guess, and remember it.
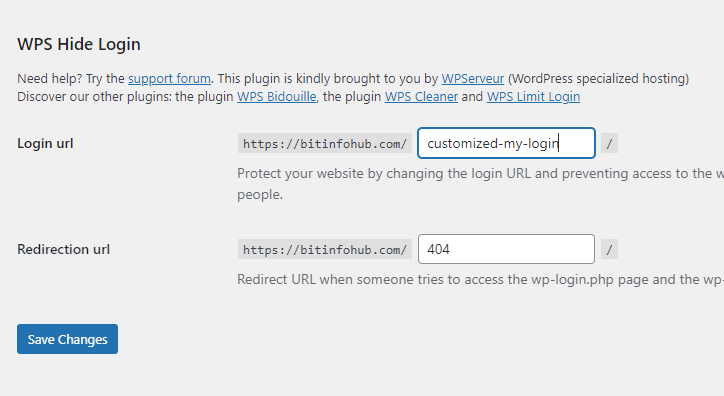
The redirect URL, by default, sends the user to the 404 page. You can change it on any page you want.
Click Save Changes to apply the changes.
Step 4: Test Your New Login URL.
To make sure that you set it up correctly, you must test your new Login URL.
Here’s how you can test it.
- You need to Sign out on your WordPress website.
- Test your old Login URL. The old Url must not be working anymore.
- Go to your new Login URL.
- If it is working, you can now enter your username and password.
By changing your WordPress login URL, you can help improve your website’s security. This is a simple change that you can make, but it is also highly effective in helping to protect your site from potential attacks. Remember always to use a strong password and keep your WordPress website up-to-date. This can help prevent unauthorized access to your site and protect your privacy.